💡 TL;DR - The 30 Seconds Version
👉 Google launched Gemini CLI, a free terminal-based AI coding assistant that reads files, writes code, and runs commands across entire projects.
📊 The free tier includes Gemini 2.5 Pro with 1 million token context, 60 requests per minute, and 1,000 daily requests at no cost.
⚡ Installation takes one command: npx @google/gemini-cli, then choose Google login for free access or API key for higher limits.
🛠️ The tool handles multi-file projects, creates backends with databases, builds CLI tools, and includes automatic checkpointing for rollbacks.
🔌 Advanced features include MCP server integration for extended functionality, memory system for project context, and web search for current documentation.
🚀 Unlike editor-based assistants, Gemini CLI works at the project level, coordinating changes across multiple files and directories simultaneously.
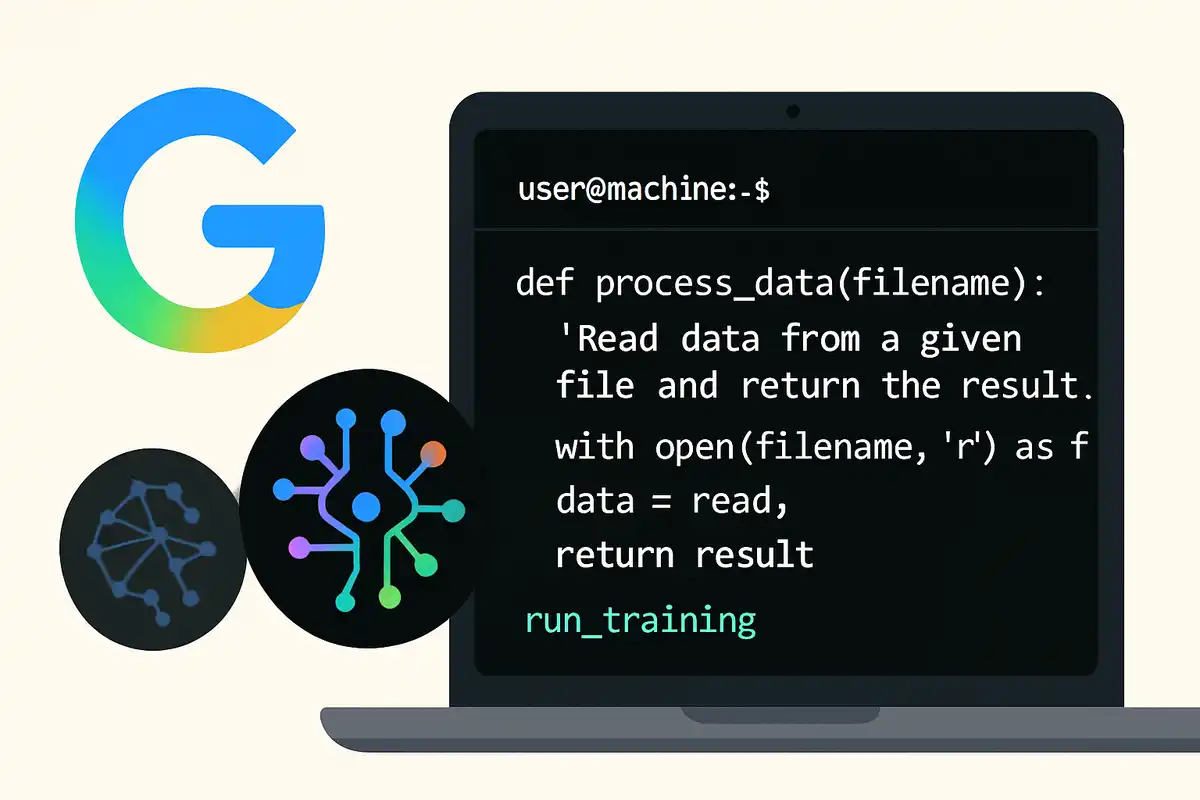
Google's Gemini CLI brings AI coding assistance to your terminal. Unlike other tools that work inside editors, this runs as a command-line program that can read files, write code, and execute commands across your entire project.
The tool is free and powerful. You get access to Gemini 2.5 Pro with a million-token context window. That means it can work with large codebases without losing track of what you're building. Google gives you 60 requests per minute and 1,000 requests per day at no cost.
This isn't just another chatbot. Gemini CLI acts like a developer who understands your project structure, can modify multiple files at once, and knows how to run shell commands. It can debug errors, set up new projects, and even search the web for current documentation.
How Gemini CLI Works
Gemini CLI operates as a terminal agent. You describe what you want, and it handles the execution. The tool can read your existing code, understand your project structure, write new files, and run commands.
Built-in capabilities include:
- File operations: Read, write, edit, and search files
- Shell commands: Execute git, npm, pip, or any terminal command
- Web search: Find current documentation and examples
- Memory system: Remember project details across sessions
The system works through a chat interface in your terminal. You type requests in plain English, and Gemini CLI breaks them into specific actions. Before making changes, it shows you what it plans to do and asks for permission.
Unlike coding assistants that work within a single file or editor, Gemini CLI sees your entire workspace. It can coordinate changes across multiple files and directories.
Installation and Setup
First, install Node.js from nodejs.org. Download the version for your operating system and follow the installation steps.
Open your terminal and run:
npx @google/gemini-cli
This downloads and starts Gemini CLI without permanent installation. The first run triggers a setup wizard.
Pick your theme from the options: default dark, GitHub dark, default light, or Google code. Choose what looks good in your terminal.
Select your authentication method:
Google Login: Sign in with your personal Google account for free access. This gives you Gemini 2.5 Pro with generous limits at no cost.
API Key: Use your own Gemini API key from Google AI Studio or Vertex AI. This provides higher rate limits and keeps your data private.
Most developers should use Google login. Click "Sign in with Google" and complete authentication in your browser. You'll see confirmation that Gemini Code Assist has access to your account.
Basic Commands and Usage
Start Gemini CLI:
npx @google/gemini-cli
You'll see a clean interface showing your current model (Gemini 2.5 Pro) and available context. The interface shows keyboard shortcuts:
- Shift + Enter: New line
- Up/Down arrows: Browse command history
- Ctrl + C: Exit
Try these commands to get familiar:
/help
Shows all available commands, including MCP servers, memory management, and tools.
/tools
Lists built-in tools: edit, glob, grep, ls, shell, read-file, write-file, and others.
Let's start with a simple test:
Create a Python script that calculates compound interest
Gemini CLI shows the code it will write and asks "Allow this change?" You can:
- Allow once: Approve this single change
- Always allow: Approve all future file operations
- Deny: Reject the change
Choose "Always allow" to speed up workflow. Gemini CLI creates the Python file and confirms the action.
Check your directory:
!ls
The exclamation mark runs shell commands directly. You'll see your new Python file.
Building a Real Project
Let's build something practical: a personal expense tracker web app. This example shows how Gemini CLI handles multi-file projects with different technologies.
Start in an empty directory and type:
Create a personal expense tracker web app. Include:
- HTML page with a form to add expenses
- CSS for clean, modern styling
- JavaScript to store expenses locally and show totals
- Categories like food, transport, entertainment
- Monthly expense summary
- Delete functionality for individual expenses
Watch Gemini CLI work. It analyzes your request and breaks it into steps:
- Creates
index.htmlwith form structure and expense list - Writes CSS for responsive design and clean styling
- Adds JavaScript for local storage and calculations
- Implements category filtering and monthly summaries
The tool asks permission for each file. Once you approve, it builds the complete project.
Open the HTML file in your browser. You'll find a working expense tracker where you can add expenses, see running totals, and filter by category.
Want to add features? Just describe them:
Add a chart to visualize spending by category using Chart.js
Gemini CLI reads the existing files, includes Chart.js from a CDN, and adds a pie chart that updates when you add new expenses. It maintains the existing design and integrates smoothly.
Try another enhancement:
Add export functionality to download expenses as CSV
The tool adds a download button and implements CSV generation in JavaScript. It handles date formatting and category organization automatically.
Working with Backend Development
Let's expand our expense tracker with a Node.js backend for data persistence:
Add a Node.js backend for the expense tracker. Include:
- Express server with REST API endpoints
- SQLite database for storing expenses
- API routes for creating, reading, updating, and deleting expenses
- CORS setup for frontend communication
Gemini CLI creates the backend structure:
backend/
├── server.js
├── package.json
├── database.js
└── routes/
    └── expenses.js
It writes the Express application with proper route handlers, sets up SQLite with appropriate schema, and configures CORS for frontend communication.
The tool can set up the development environment:
Initialize the backend, install dependencies, and start the server
Gemini CLI runs:
cd backend
npm init -y
npm install express sqlite3 cors
node server.js
Your API server starts on localhost:3000. The frontend can now save expenses to the database instead of just local storage.
Advanced Project: CLI Tool Development
Let's build something different - a command-line tool for managing development tasks:
Create a Node.js CLI tool called "devtask" that helps manage development workflows. Include:
- Command to initialize new projects with common files
- Git workflow commands (commit with conventional format)
- Package.json scripts management
- Environment variable template generation
- Make it installable globally with npm
Gemini CLI creates a complete CLI tool structure:
devtask/
├── bin/
│   └── devtask.js
├── lib/
│   ├── init.js
│   ├── git.js
│   └── env.js
├── package.json
└── README.md
The tool implements:
- Command parsing with proper help text
- Project initialization with .gitignore, README templates
- Git commands with conventional commit formatting
- Interactive prompts for user input
To test the CLI:
Make the CLI executable and test the init command
Gemini CLI runs:
chmod +x bin/devtask.js
npm link
devtask init my-new-project
You now have a working CLI tool that can be distributed via npm.
Advanced Features
MCP Server Integration
MCP (Model Context Protocol) servers extend Gemini CLI's capabilities. Add one for enhanced documentation access:
Create project configuration:
mkdir .gemini
Add to .gemini/settings.json:
{
  "mcpServers": {
    "filesystem": {
      "command": "npx",
      "args": ["@modelcontextprotocol/server-filesystem", "/path/to/docs"]
    }
  }
}
Restart Gemini CLI. You'll see "Using 1 MCP server" at startup. Now you can access extended functionality:
Search through project documentation for deployment instructions
Checkpointing System
Gemini CLI creates automatic checkpoints when you approve file changes. These work like git commits for your AI session.
View available restore points:
/restore
If you see checkpoint options, you can revert to any previous state. This helps when experimenting with different approaches.
Memory and Context Management
Save important project information:
/memory save "This expense tracker uses SQLite for data storage and Chart.js for visualizations"
Gemini CLI stores this context and references it in future sessions. It also maintains a gemini.md file with project details.
Web Search Integration
For current information, Gemini CLI searches automatically:
Find the latest best practices for Node.js security and apply them to our backend
The tool searches for current Node.js security documentation, finds recent recommendations, and updates your code with proper security headers, input validation, and other protections.
Tips for Success
Be specific in requests: Instead of "improve the code," try "add input validation for the expense amount field and show error messages."
Work incrementally: Start with basic functionality, then add features step by step. This helps you understand what the tool builds and catch issues early.
Use shell commands freely: !git status, !npm test, or !python -m pytest runs commands without losing context.
Manage permissions wisely: Use "Always allow" for rapid development, but switch to "Allow once" for important or unfamiliar operations.
Monitor context usage: The interface shows remaining context. When it gets low, start a fresh session or use checkpoints.
Ask for current information: When working with new libraries or tools, have Gemini CLI search for recent documentation and examples.
Common Issues and Solutions
Outdated dependencies: The model's training has cutoff dates. Ask it to search for current versions: "Find the latest version of React and update our package.json."
Environment assumptions: Specify your setup when relevant: "I'm using Windows with PowerShell" or "This is a Python 3.11 environment."
Complex error debugging: Take screenshots of error messages and include them: "Here's the error I'm getting [attach image]. How do I fix it?"
Rate limiting: The free tier gives 1,000 requests daily. Complex projects consume requests quickly. Plan accordingly and consider breaking large tasks into smaller sessions.
Context contamination: Start fresh sessions for different projects to avoid confusion between codebases.
Real-World Application
Gemini CLI excels at handling the tedious parts of development. It sets up project structures, writes boilerplate code, configures build tools, and handles deployment scripts. This frees you to focus on business logic and creative problem-solving.
The tool works particularly well for:
- Rapid prototyping and proof of concepts
- Setting up new projects with proper structure
- Converting between technologies or frameworks
- Adding features to existing codebases
- Learning new libraries through practical examples
Start with small projects to understand the workflow. As you get comfortable, you'll find Gemini CLI becomes an essential part of your development process. The combination of free access, powerful capabilities, and terminal integration makes it a valuable addition to any developer's toolkit.
❓ Frequently Asked Questions
Q: How much does Gemini CLI cost compared to Claude Code?
A: Gemini CLI is completely free with 1,000 daily requests. Claude Code costs $20/month for unlimited usage. Many developers report spending hundreds per month on Claude Code, making Gemini CLI's free tier a significant cost saver for most projects.
Q: What happens when I hit the 1,000 daily request limit?
A: You wait until the next day (resets at midnight Pacific Time) or switch to a paid API key for unlimited usage. Complex projects typically use 50-200 requests, so most developers stay within the free limit.
Q: Can Gemini CLI work with existing projects or only new ones?
A: It works with any existing project. Run the command in your project folder and Gemini CLI reads all files, understands your structure, and can modify existing code. The 1 million token context handles large codebases easily.
Q: Is my code private when using the free Google login?
A: Google may use free tier conversations to improve their models. For private projects, use your own API key from Google AI Studio or Vertex AI. This costs per token but keeps your code completely private.
Q: What programming languages and frameworks does Gemini CLI support?
A: All major languages and frameworks. It handles Python, JavaScript, TypeScript, React, Node.js, Flask, Django, Go, Rust, and more. The tool reads any text file and understands project structures across different tech stacks.


Robert Brown
Tech journalist. Lives in Marin County, north of San Francisco. Got his start writing for his high school newspaper. When not covering tech trends, he's swimming laps, gaming on PS4, or vibe coding through the night.